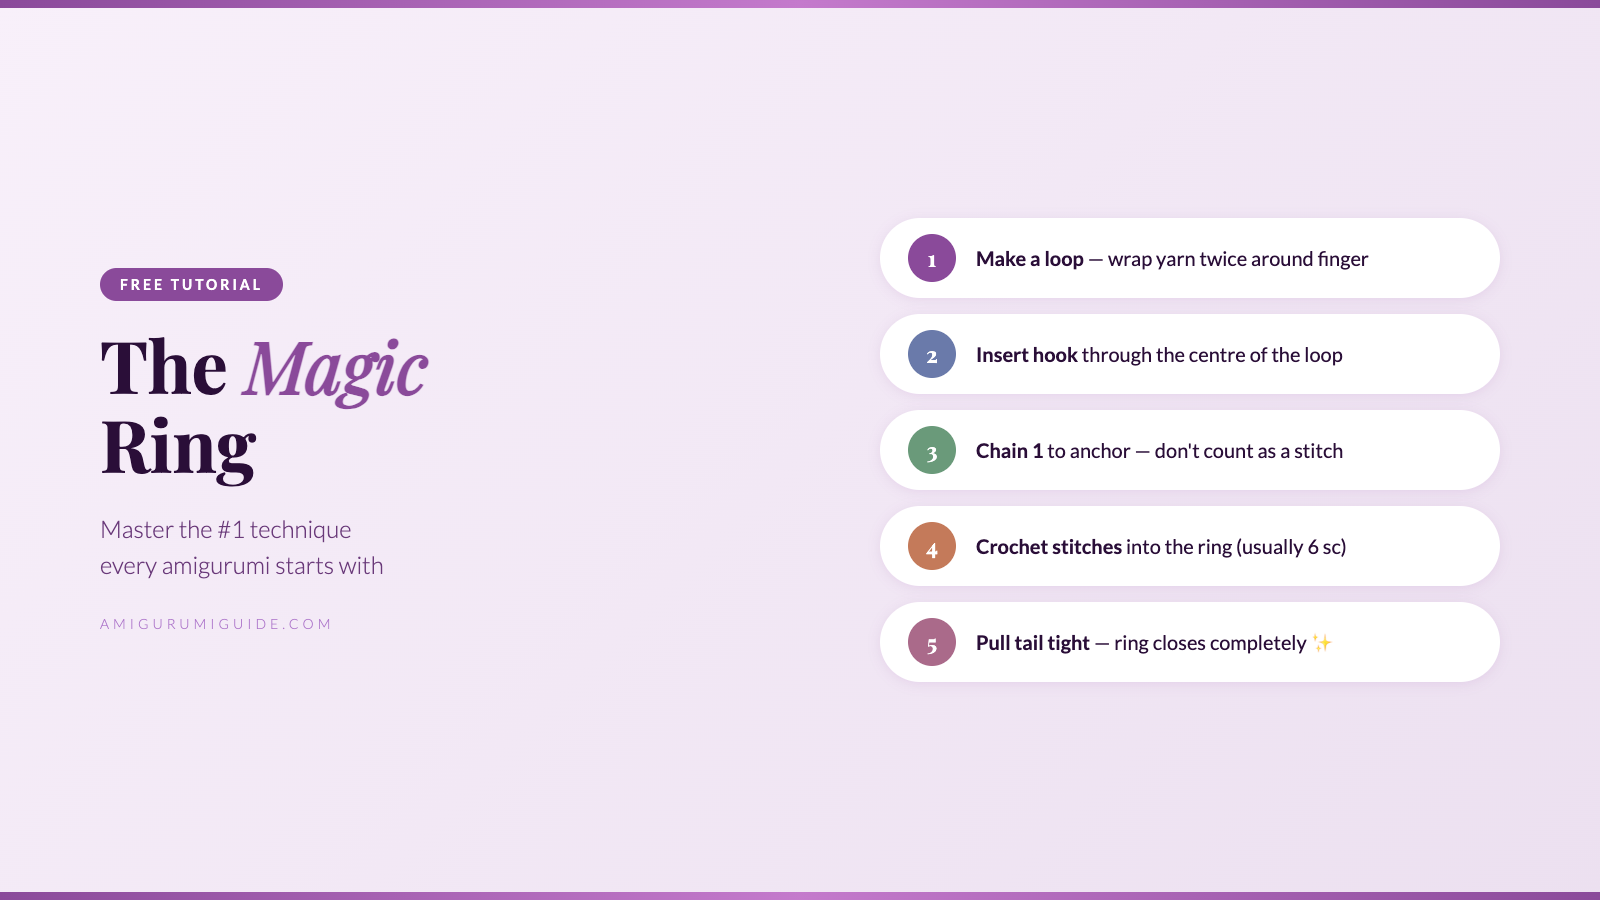
The magic ring — also called the magic loop or magic circle — is the starting technique used in almost every single amigurumi pattern ever written. Instead of chaining a few stitches and joining them into a ring (which always leaves a small hole in the centre), the magic ring lets you start your round with a completely closed, invisible centre. It's the difference between a finished toy that looks polished and one that has a distracting gap in the middle of the head.
The magic ring sounds intimidating at first. Most beginners watch a tutorial video, attempt it, get confused, attempt it again, and then suddenly it clicks — and after that it feels completely natural. This written guide walks you through it step by step.
What You Need
- Your yarn (any weight works for practice)
- Your crochet hook
- Scissors (optional — for practice swatches)
For practising, I recommend using a chunky or worsted weight yarn in a light colour so you can see exactly what you're doing. Once you've got the technique down, you can apply it to any yarn weight.
The Magic Ring: Step by Step
Step 1: Make a Loop
Hold the yarn in your non-dominant hand with about 15cm of tail hanging free. Wrap the working yarn (the yarn attached to the ball) around your index finger twice, going over the top and then crossing over itself. You should have two loops on your finger, with the working yarn coming off the back.
Tip: If the loop keeps slipping off your finger, pinch the crossing point between your thumb and middle finger to hold it steady.
Step 2: Insert Your Hook
Slide your crochet hook through the centre of the double loop on your finger, from front to back. The hook tip should now be pointing down through the loop, with the working yarn behind the hook.
Step 3: Pull Through a Chain Stitch
Catch the working yarn with your hook and pull it back through the loop. This gives you one loop on your hook — the equivalent of a starting chain stitch. This chain stitch does not count as one of your stitches; it's just there to anchor the ring.
Step 4: Crochet Your Stitches Into the Ring
Now crochet the required number of stitches directly into the ring. Most amigurumi patterns start with 6 single crochet (sc) stitches into a magic ring. Insert your hook through the centre of the loop (not into the chain you just made), yarn over, pull up a loop, yarn over, pull through both loops — that's one single crochet. Repeat until you have the number of stitches specified in your pattern.
Keep your finger inside the ring as you work to prevent it from tightening up before you're ready.
Step 5: Close the Ring
Once you have all your stitches, gently slide the loop off your finger. You'll see that your stitches are sitting on a moveable loop. Find the tail yarn (the short end hanging free) and pull it gently but firmly. You'll feel the ring tighten and close around the centre of your stitches. Keep pulling until the hole completely disappears.
Then slip stitch into the first stitch of the round to join (if your pattern calls for joined rounds), or simply continue into the next round without joining (for continuous / spiral rounds — the most common method for amigurumi).
Common Mistakes and How to Fix Them
"My ring won't close all the way"
Make sure you're pulling the tail yarn (the short end), not the working yarn (attached to the ball). It's easy to confuse them, especially on your first few attempts. The tail should close the ring when you pull it; the working yarn should not move much.
"My stitches fell off before I could close the ring"
This usually means the ring slipped off your finger before you finished your stitches. Next time, pinch the base of the stitches with your non-hook hand as you work, and be especially careful not to let go until you've completed all the stitches. You can also transfer the ring to a stitch marker on your hook shaft while you work if it keeps slipping.
"There's still a tiny hole in the middle"
Pull the tail even tighter — it can take more force than you'd expect. If the hole persists, check that you crocheted into the ring (through the centre of the loop) rather than around the chain stitch you made in Step 3.
"The whole thing looks twisted"
This is almost always a sign that the yarn crossed the wrong way during Step 1 (making the initial double loop). Undo your work, restart the ring, and make sure the working yarn crosses on top when you wrap it around your finger.
Alternative: The Adjustable Ring Method
If you've tried the magic ring multiple times and it's still not clicking, here's a slightly different approach that some makers find easier:
- Make a simple loop by crossing the yarn over itself (not a double wrap).
- Insert your hook, chain 1 to secure.
- Work your stitches into the single loop.
- Pull the tail to close.
This version has a slightly less secure centre but is functionally identical for most amigurumi. Once you're comfortable, come back and try the double-wrap version for a cleaner result.
Quick Summary
- ✅ The magic ring creates a closed, invisible centre — essential for professional amigurumi
- ✅ Wrap yarn twice around your finger for best results
- ✅ Work stitches into the ring, not into the starting chain
- ✅ Pull the tail yarn (not working yarn) to close
- ✅ It takes 3–5 attempts before it feels natural — stick with it!
- ❌ Don't use a starting chain ring for amigurumi — it always leaves a hole
Now that you've mastered the magic ring, you're ready for your first complete project. Check out the Complete Beginner's Guide for the next steps, or jump straight into crocheting a Little Frog or Little Otter pattern.